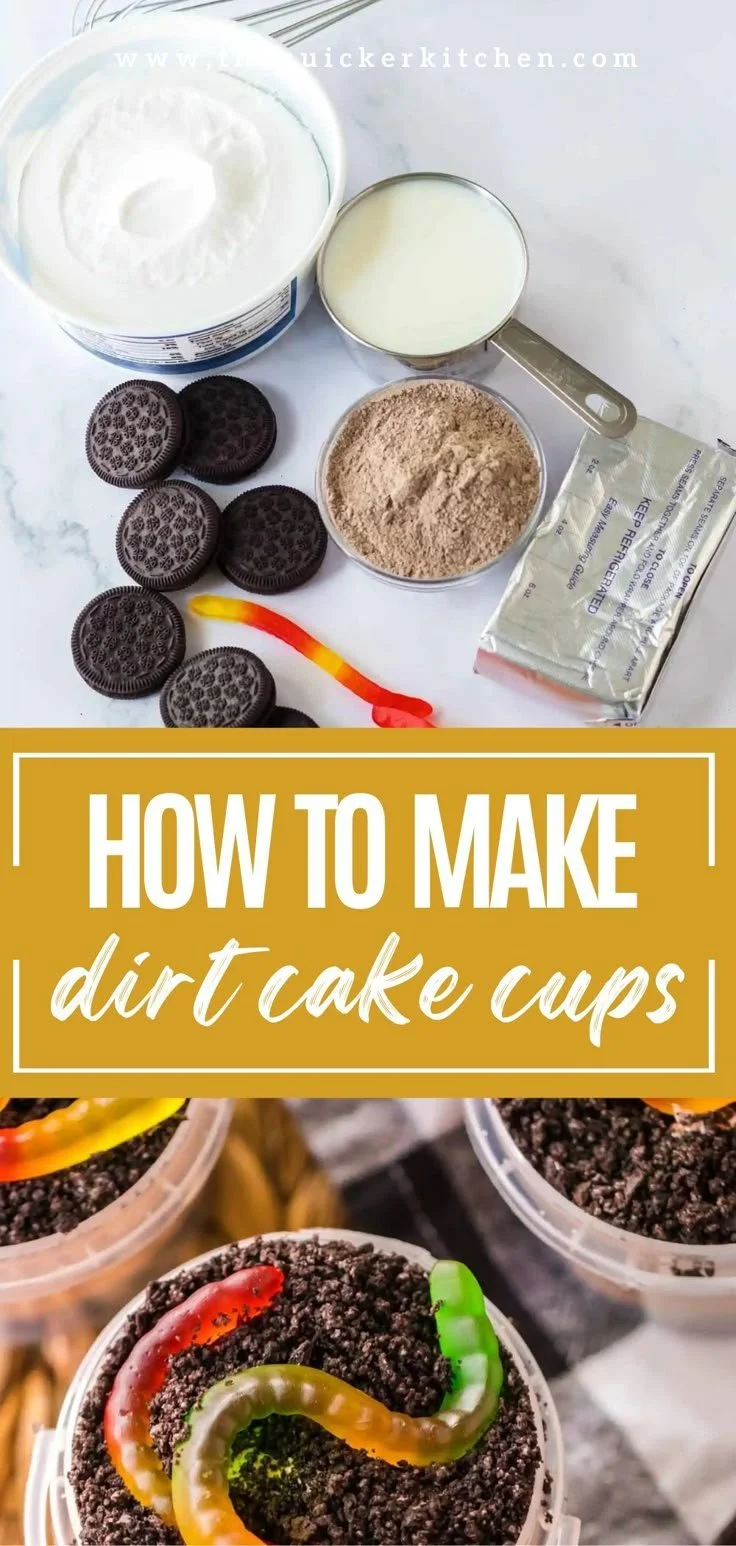
If you’re looking for a fun, nostalgic dessert that’s sure to delight both kids and adults, this Dirt Cake Cups recipe is a perfect choice. Combining creamy layers of pudding and whipped topping with crushed Oreos, this treat is a playful take on classic dirt cake that’s easy to assemble. Whether it’s for a party or a simple family gathering, these adorable cups add a whimsical flair to any occasion.
Why You’ll Love Dirt Cake Cups
- Easy to Make: With minimal ingredients and straightforward instructions, even beginner cooks can whip these up in no time.
- No-Bake Delight: Since this recipe requires no baking, you can skip the oven and keep your kitchen cool.
- Customizable: Personalize each cup with your favorite add-ins or toppings to make each one unique.
- Cute Presentation: Serving these in clear buckets not only enhances the fun factor but also showcases the layers beautifully.
- Great for Gatherings: These cups are perfect for parties, picnics, or any event where you want to impress with a fun, shareable dessert.
Recipe Overview
- Prep Time: 20 minutes
- Cook Time: 0 minutes
- Total Time: 1 hour (including refrigeration)
- Servings: 12 cups
- Difficulty Level: Easy
Ingredients You’ll Need for Dirt Cake Cups
- 2 (3.9 oz) boxes instant chocolate pudding
- 8 ounces cream cheese (softened)
- 4 cups milk
- 8 ounces whipped topping
- 13 ounces Oreos (crushed)
- 24 gummy worms
- 12 (8 oz) clear buckets
These ingredients work together to create a rich, creamy dessert with a crunchy topping. You can substitute the chocolate pudding with vanilla for a different flavor profile. Ensure the cream cheese is softened for smooth mixing.

How to Make Dirt Cake Cups
-
Crush the Oreos
In a food processor, crush the Oreo cookies until they form fine crumbs. Set aside for layering. -
Mix Cream Cheese and Pudding
In a large bowl with an electric mixer, beat together the softened cream cheese and instant chocolate pudding until well combined. -
Add Milk Gradually
Slowly add in the milk while mixing, ensuring everything is blended smoothly without lumps. -
Fold in Whipped Topping
Gently fold the whipped topping into the pudding mixture until fully integrated. This will give the dessert a light and airy texture. -
Layer the Ingredients
Spoon a layer of the crushed Oreos into the bottom of each clear bucket, followed by a layer of the creamy pudding mix. Repeat the layering process, topping off each cup with more crushed Oreos. -
Decorate with Gummy Worms
Place two gummy worms onto the top layer of Oreos in each cup for a playful touch. -
Chill Before Serving
Refrigerate the cups for at least 1 hour before serving. This allows the flavors to meld and the dessert to firm up. -
Serve and Enjoy!
Grab a spoon and enjoy these delightful Dirt Cake Cups at your next gathering!
Tips for Success
- Consistent Crushing: Ensure that the Oreos are finely crushed for better layering and a more cohesive texture.
- Cool Before Serving: Chilling the cups not only enhances the flavor but also helps set the layers. Aim for at least an hour in the fridge.
- Use Fresh Ingredients: Check the expiration dates on milk and whipped topping to ensure the best flavor and texture.
- Avoid Overmixing: When folding the whipped topping, be gentle to maintain the lightness of the mixture.
Easy Variations
- Flavored Cream Cheese: Use flavored cream cheese, such as chocolate or vanilla, for a new twist.
- Different Gummy Toppings: Swap out the gummy worms for other fun candies like gummy bears or chocolate rocks for variety.
- Dairy-Free Option: Use dairy-free cream cheese and whipped topping to create a vegan version of this dessert.
- Add Fruits: Layer in some fruit, like sliced strawberries or bananas, for a fresh contrast to the rich flavors.
What to Serve with Dirt Cake Cups
- Ice Cream: A scoop of vanilla or chocolate ice cream pairs perfectly, adding a creamy balance.
- Fruit Salad: A light fruit salad can provide a refreshing contrast to the rich dessert.
- Cookies: Serve with additional cookies for a delightful snack combination.
- Milk or Chocolate Milk: Cold milk complements the dessert and is a classic pairing with chocolate flavors.
Storage and Reheating
- Refrigerator Storage: These cups can be stored in the refrigerator for up to 3 days. Cover them with plastic wrap to keep them fresh.
- Freezer Storage: While not ideal due to the creamy texture, you can freeze them for up to a month. Thaw in the refrigerator overnight before serving.
- Reheating: There is no need to reheat; serve chilled straight from the fridge to enjoy the best texture.
Common Mistakes to Avoid
- Skipping the Chill Time: Allowing the cups to chill is crucial for the best flavor and texture.
- Not Crushing Oreos Enough: Coarse crumbs can break apart the layers instead of creating a smooth finish.
- Overmixing the Cream Cheese: Be careful not to mix too aggressively, as you want to keep the light and fluffy texture.
- Using Cold Ingredients: Ensure your cream cheese is softened at room temperature for easier blending.
Dirt Cake Cups: Background & Cultural Inspiration
Dirt cake, a playful and nostalgic treat, gained popularity in the United States in the 1980s, often seen at children’s parties and school bake sales. The idea of using crushed Oreos to mimic dirt is both creative and appealing for kids, making it a hit for gatherings. The cute, whimsical presentation in cups reflects the tradition of fun, interactive desserts, transforming a classic cake into an easy-to-serve treat that delights all ages.
Frequently Asked Questions
Can I make Dirt Cake Cups ahead of time?
Yes, these cups can be made a day in advance. Just ensure they are covered and stored in the refrigerator.
What can I substitute for Oreos?
You can use any chocolate cookie, such as chocolate wafer cookies or even gluten-free varieties if needed.
How do I keep the layers from mixing?
Make sure each layer is added gently and allow the pudding mixture to set slightly before layering again.
Can I use other flavors of pudding?
Absolutely! Vanilla, butterscotch, or even a strawberry pudding can create delicious variations.
What’s the best way to serve these cups?
Serve them chilled from the refrigerator for the best texture and flavor, and enjoy!
Final Thoughts
Dirt Cake Cups are not only a whimsical dessert but also an easy one to create, making them perfect for any occasion. With simple ingredients and fun layers, they bring joy to both the maker and the eater. Try making these delightful treats for your next get-together; they’re sure to be a crowd-pleaser!
PrintDirt Cake Cups

Enjoy these fun and nostalgic Dirt Cake Cups, a whimsical dessert with layers of creamy pudding, whipped topping, and crushed Oreos.
- Prep Time: 20 minutes
- Cook Time: 0 minutes
- Total Time: 60 minutes
- Yield: 12 servings
- Category: Dessert
- Method: No-Bake
- Cuisine: American
- Diet: Vegetarian
Ingredients
- 2 (3.9 oz) boxes instant chocolate pudding
- 8 ounces cream cheese (softened)
- 4 cups milk
- 8 ounces whipped topping
- 13 ounces Oreos (crushed)
- 24 gummy worms
- 12 (8 oz) clear buckets
Instructions
- Crush the Oreos in a food processor until they form fine crumbs. Set aside.
- Mix the softened cream cheese and instant chocolate pudding in a large bowl until well combined.
- Add the milk gradually while mixing to ensure everything blends smoothly without lumps.
- Fold in the whipped topping until fully integrated for a light texture.
- Layer crushed Oreos in clear buckets followed by creamy pudding mix, repeating layers as desired.
- Decorate the top layer with two gummy worms for a playful touch.
- Chill the cups in the refrigerator for at least 1 hour before serving.
- Serve and enjoy your delightful Dirt Cake Cups!
Notes
Consider customizing each cup with your favorite toppings or add-ins for a unique twist.